| Previous: Tutorial: Creating a Project | Next: Tutorial: Creating a Unit that Publishes Data |
|---|
Prerequisites
This tutorial assumes that you have created a project directory as described in the previous tutorial (Tutorial: Creating a Project).
Introduction
Each project is further structured into Toolboxes and Domains. Toolboxes contain algorithms and classes that are used directly by other components like domains, other toolboxes or stand-alone applications and thereby allow code sharing (Tight Coupling). Toolboxes are located in the "toolboxes" sub-directory of a project.
Domains contain one or more units that may be used by other components like the application layer to build a complex application. Components of different domains may interact with each other (using the communication mechanisms) but must NOT use each other directly to avoid unwanted dependencies between domains (Loose Coupling). Domains are located in the "domains" sub-directory of the project.
In the following we will create a new domain, using the mirawizard.
Creating a Domain
- enter your project directory > cd myproject
- Start the mirawizard there > mirawizard
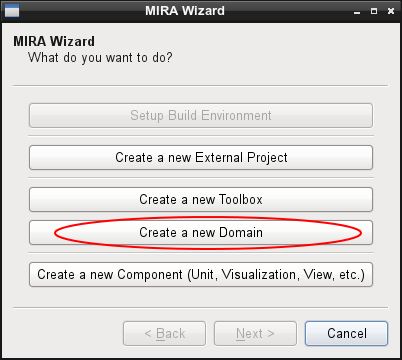
- Choose "Create a new Domain"
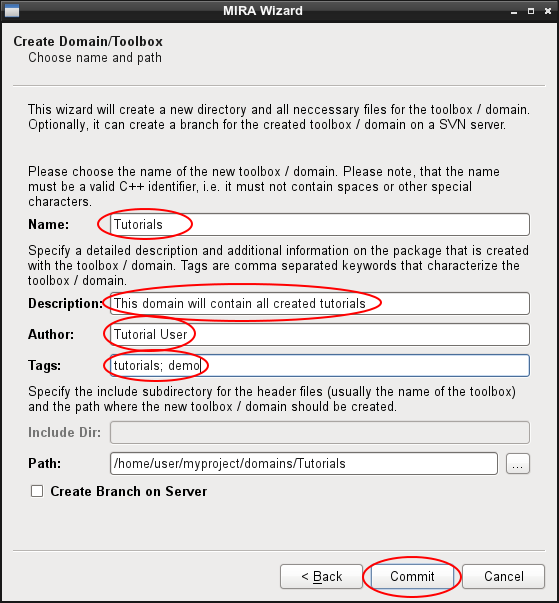
- Choose the name of your domain. The name should describe the content of the domain in short, e.g. "PersonTracking", "Mapping", etc. Moreover, the name must be a valid C++ identifier, since it is usually also used as namespace of the created classes within the domain. In this tutorial, we choose "Tutorials" as domain name, since all software components created in the following tutorials will go into this domain.
- Provide more information on your domain, like a detail description of the content, name(s) of the the author(s), and tags. The tags are used by other tools like mirapackage to organize the domains. When the number of different domains grows, tags help to maintain the overview and to group the different domains.
- Optionally you can adjust the path where the directory for the new domain will be created.
- Click "Commit" and you are done.
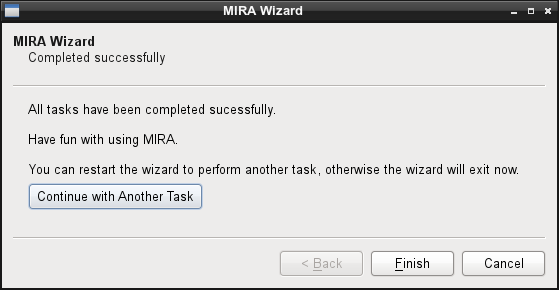
- You can now click "Finish" to close the mirawizard. If you want to proceed with the next tutorial, you should choose "Continue with another Task" which will restart the mirawizard to allow you to create additional components while keeping some settings like paths, or author's name, so you do not need to type them again.
| Next: Tutorial: Creating a Unit that Publishes Data |
|---|